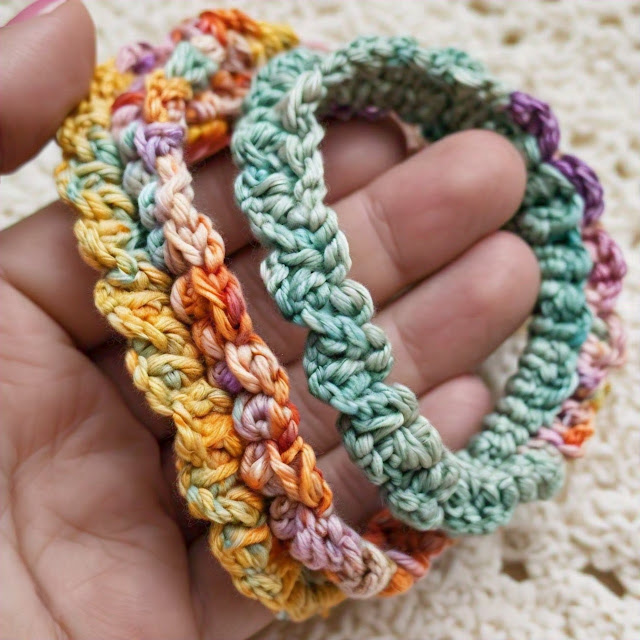
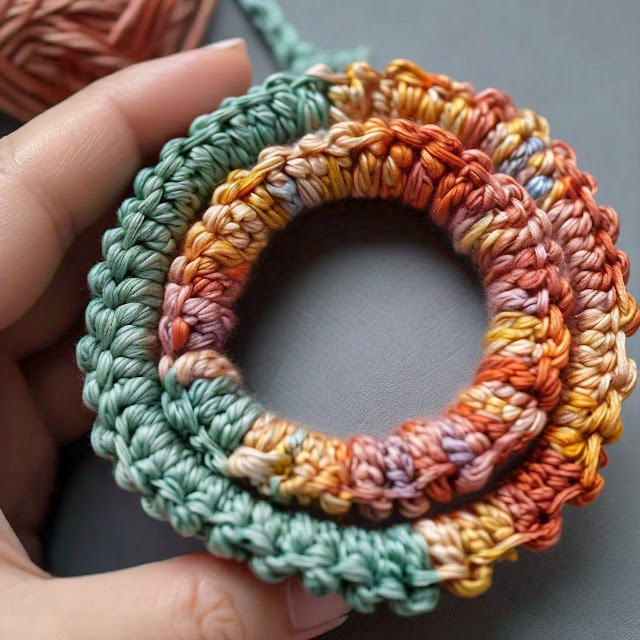
Discover the joy of creating Crochet Hair Tie Patterns for Beginners, perfect for adding a touch of handmade charm to your hair accessories collection. These patterns use basic materials like soft yarn, crochet hooks, and optional decorative beads. Each pattern, detailed on the link, provides clear instructions to create stylish hair ties that are comfortable and easy to wear. Embrace the simplicity and creativity of crocheting your hair ties, whether you're new to crochet or looking to expand your skills.
Explore the world of free crochet Hair Tie Patterns, where you can fashion stylish and practical accessories using yarn and a crochet hook. These patterns offer a variety of designs, from simple single-color ties to more intricate patterns with beads or decorative stitches. Perfect for beginners and seasoned crocheters alike, these patterns provide step-by-step instructions to create hair ties that are both functional and fashionable. Whether you want to personalize your style or make thoughtful gifts, crochet hair tie patterns are a delightful way to express creativity while crafting something useful.
Creating your own Crochet Hair Ties is a fun and rewarding project that allows you to personalize your accessories and showcase your creativity. Whether you're new to crochet or have some experience, free crochet hair tie patterns offer a great opportunity to experiment with different stitches and techniques. Here’s a comprehensive step-by-step guide to help you crochet your own hair ties:
Step 1: Gather Materials
Before you begin crocheting, gather all the necessary materials:
Yarn: Choose a soft and comfortable yarn suitable for hair accessories. Cotton yarn is a popular choice due to its durability and Breathability.
Crochet Hook: Select a hook size that matches the weight of your yarn. A smaller hook (3.5 mm or 4 mm) is typically used for hair ties to create a firm fabric.
Scissors: Essential for cutting yarn.
Tapestry Needle: Used for weaving in ends.
Optional:
Beads or Charms: To add decorative elements to your hair ties.
Ensure you have everything ready before you start crocheting.
Step 2: Choose a Pattern
Browse free crochet hair tie patterns to find a design that appeals to you. Patterns can range from basic single crochet designs to more intricate patterns involving multiple stitches and Embellishments like beads or shells.
Popular sources for free crochet patterns include crochet blogs, crafting websites, and platforms like Pinterest. Look for patterns that include detailed instructions and, if possible, photos or diagrams to guide you through each step.
Step 3: Read the Pattern
Once you’ve chosen a pattern, carefully read through the instructions before starting. A typical crochet hair tie pattern includes:
Materials List: Double-check that you have all the required materials.Gauge*: Some patterns
specify gauge (tension) to ensure your hair tie turns out the correct size.
Stitch Abbreviations: Learn the Abbreviations used in the pattern (e.g., sc for single crochet, hdc for half double crochet).
Row-by-Row Instructions: Step-by-step directions on how to crochet each part of the hair tie.
Finishing Instructions: Guidance on fastening off, weaving in ends, and optionally adding any embellishments.
Understanding the pattern thoroughly will help you avoid mistakes and ensure your finished hair tie looks as intended.
Step 4: Begin Crocheting
Start crocheting according to the pattern instructions. Most Hair Ties are worked in rounds or rows, depending on the design. Here’s a basic guideline for crocheting a simple hair tie:
2. Chain Stitch (ch): Make a foundation chain of the specified length. For a standard hair tie, this could be around 20-25 chains, but adjust based on your pattern.
3. Single Crochet (sc): Work single crochet stitches into each chain across to form the first row. This creates a dense and sturdy fabric suitable for a hair tie.
4. Continue in Rounds or Rows: Follow the pattern’s instructions for the desired length and shaping. You might increase or decrease stitches to create a tapered or straight hair tie shape.
5. Finishing Off: Once you’ve reached the desired length, fasten off the yarn by cutting it, leaving a tail for weaving in later.
Step 5: Adding Embellishments (Optional)
If your chosen pattern includes embellishments like beads or charms, this is the time to add them. Thread beads onto the yarn before crocheting, or sew them onto the finished Hair Tie using a tapestry needle and matching thread. Experiment with different placements and designs to create a unique look.
Step 6: Assemble (if needed)
Some patterns may require you to sew or join parts together, especially if you’ve Crocheted separate components for a more intricate design. Use a tapestry needle and yarn to sew seams neatly and securely.
Step 7: Finishing Touches
Once your hair tie is complete and any embellishments are added, take a moment to weave in any remaining yarn ends using a tapestry needle. This ensures a clean and professional finish.
Step 8: Enjoy Your Creation
Now that your crochet hair tie is finished, it’s ready to wear or give as a gift! Experiment with different yarn colors and textures to create a variety of hair ties that complement your style. They make wonderful accessories for everyday wear or special occasions.
Conclusion
Crocheting your own hair ties using free patterns is not only enjoyable but also allows you to customize your accessories to suit your preferences. Whether you prefer simple designs or intricate patterns, the process of selecting materials, following a pattern, and creating something beautiful with your hands is incredibly rewarding. With each hair tie you crochet, you’ll gain confidence in your crochet skills and may even discover new techniques along the way. So gather your materials, choose a pattern, and start crocheting your own free hair ties today.
Creating a Crochet Hair Tie is a delightful and practical project that's perfect for beginners and experienced crocheters alike. In this step-by-step pattern, I'll guide you through each stage, ensuring you can create a beautiful hair tie. Let's get started!
Materials Needed:
Yarn: Choose a yarn suitable for hair ties. Cotton yarn is often preferred for its durability and softness. You can also use bamboo or a blend that's comfortable for wearing in hair.
Crochet Hook: Select a Crochet Hook size appropriate for your yarn choice. For example, if using worsted-weight cotton yarn, a 3.5mm to 4mm (US size E to G) crochet hook works well.
Scissors: For cutting yarn.
Yarn Needle: To weave in ends.
Step 1: Begin with a Slip Knot
Start by creating a slip knot:
1. Leave a tail of yarn about 6 inches long.
2. Form a loop with the Yarn Tail crossing over the working yarn.
Step 2: Foundation Chain
Crochet a foundation chain:
1. Chain 50 stitches. Ensure the chain is loose enough to comfortably stretch around a Ponytail.
Step 3: Single Crochet Row
Create the first row of single Crochet Stitches:.
2. At the end of the row, chain 1 and turn your work.
Step 4: Additional Rows (Optional)
Continue crocheting rows of single crochet:
1. Repeat Step 3 until the Hair Tie reaches your desired width. Typically, 5 to 7 rows should suffice for a standard hair tie.
Step 5: Joining Ends
Prepare to join the ends together:
1. Fold the crochet piece in half, ensuring the ends are aligned.
Step 6: Slip Stitch Join
Join the ends with slip stitches:
1. Insert your hook through the First Stitch on the foundation chain and the last stitch of your last row.
2. Yarn over and pull through all loops on the hook to join with a slip stitch.
Step 7: Finish Off
Secure the yarn and finish off:
1. Cut the yarn, leaving a tail of about 6 inches.
Step 8: Weave in Ends
Hide loose yarn ends:
1. Thread the yarn tail onto a yarn needle.
2. Weave the needle through the Stitches on the wrong side of your work to secure the end. Trim any excess yarn.
Step 9: Embellishments (Optional)
Add decorative elements if desired:
1. You can attach buttons, beads, or crochet flowers to personalize your hair tie.
Step 10: Final Touches
Smooth out any bumps or uneven areas and shape your Hair Tie:
1. Gently stretch the hair tie to ensure it's comfortable and fits snugly around a ponytail without being too tight.
Success: Gauge:
Adjust your hook size and tension if needed to achieve a flexible and comfortable hair tie.
Customization: Experiment with different yarn colors and textures to create unique hair accessories.
Durability: Cotton yarn is durable and washable, making it ideal for items like Hair Ties that will be frequently used.
Final Thoughts:
Crocheting a hair tie is a satisfying project that combines functionality with creativity. Whether you're making it for yourself or as a gift, the simple pattern allows for endless customization. Feel free to experiment with stitches and colors to make each hair tie uniquely yours.
By following these detailed steps, you'll soon have a collection of handmade crochet hair ties ready to complement any hairstyle. Enjoy your crocheting journey.


.jpeg)

.jpeg)
0 Comments